You may also be interested in my new post Revisited: Retrieving Files From S3 Using Chef on OpsWorks which includes support for IAM instance roles.
Say you wanted to manage some configuration file in your OpsWorks stack – typically you’d create a custom Chef recipe, make your configuration file a template and store it within your custom cookbook repository. This approach works well in most instances, but what if the file is something not suited to version control such as a large binary file or perhaps a programmatically generated artifact of your system?
In these cases you may prefer to store the file in an S3 bucket and automatically download a copy of the file as part of a custom recipe. In my case I wanted to have a dynamically generated (by a separate system) vhost configuration file which could be deployed to a stack using a simple recipe.
Adding AWS cookbook via Berkshelf
The first thing you’ll need to do is add the OpsCode AWS cookbook to your Berkfile. Note that Berkshelf is only supported on Chef 11.10 or higher on OpsWorks, so if your OpsWorks stack has an older version selected you’ll have to either upgrade or include the whole AWS cookbook in your custom cookbook repository.
If you don’t already have a Berkfile you’ll need to create one in your custom cookbook repository, otherwise simply add the AWS cookbook. Your Berkfile should look something like this:
1 2 3 | |
Creating an S3 bucket and a user which can access it
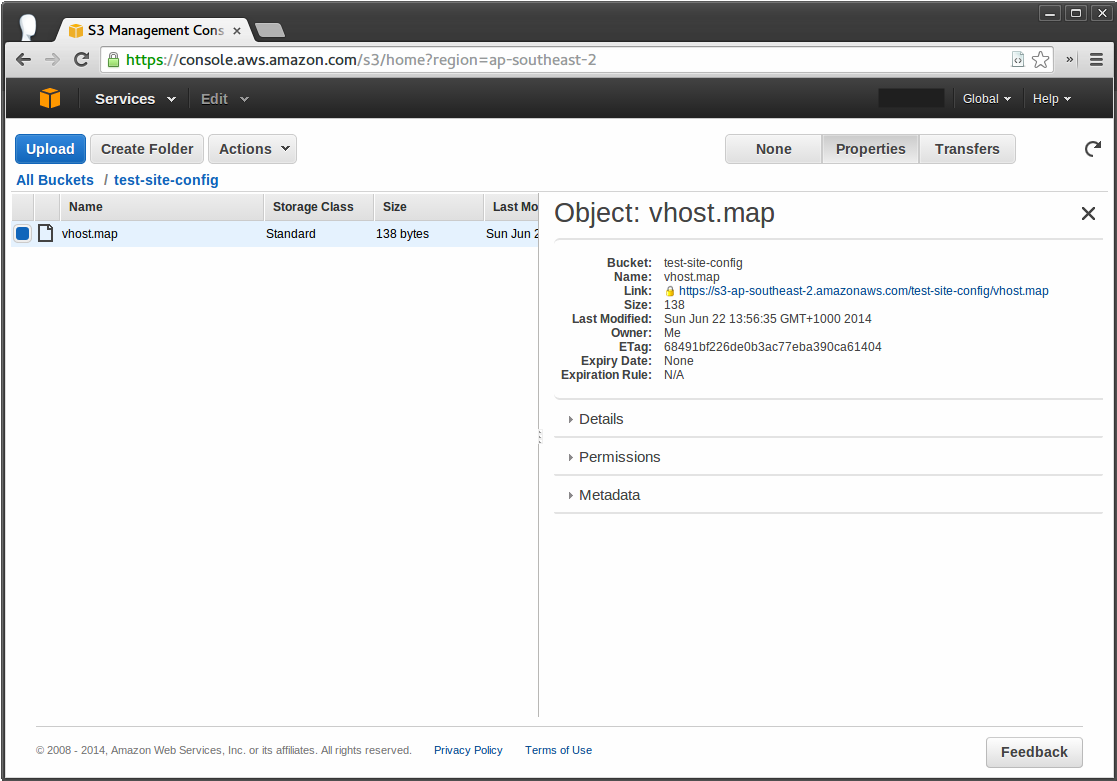
You can probably figure out how to create a bucket on your own. In my case I have a bucket called ‘test-site-config’ and a file in there called ‘vhost.map’ which I want to download via Chef.

Next you’ll need some AWS credentials for Chef to use while downloading the file. You can use your root account but I’d strongly suggest using an IAM user limited to your bucket instead. If you create a new IAM user you can use the following policy which will only permit reading objects from the specified S3 bucket (obviously replace ‘test-site-config’ with your own bucket name:
1 2 3 4 5 6 7 8 9 10 11 12 13 14 15 | |
Passing AWS credentials via custom JSON
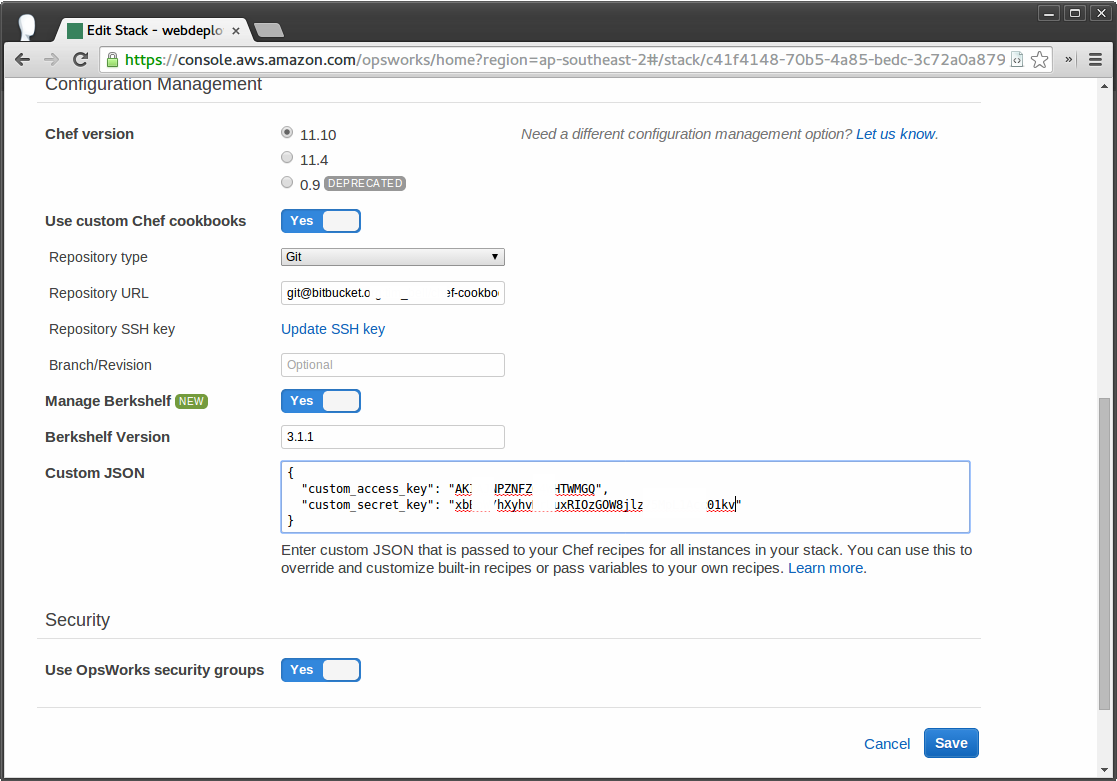
Now navigate to your stack in the OpsWorks console, click ‘Stack Settings’ then ‘Edit’ and modify the Custom JSON field to include variables for your access and secret key. If you already have custom JSON values then you’ll need to merge the new values with your existing JSON, otherwise you can use the code below:
1 2 3 4 | |

Creating your custom recipe
In this instance I’ll create a new recipe called ‘deployfile’ which does nothing but download my file and save it to the specified location, however you could just as easily include this code within an existing recipe.
Create the following file structure and use the code below in your custom cookbook repository:
1 2 | |
1
2
3
4
5
6
7
name        "deployfile"
description "Deploy File From S3"
maintainer  "Dilbert"
license     "Apache 2.0"
version     "1.0.0"

depends "aws"
1
2
3
4
5
6
7
8
include_recipe 'aws'

aws_s3_file "/etc/apache2/vhost.map" do
  bucket "test-site-config"
  remote_path "vhost.map"
  aws_access_key_id node[:custom_access_key]
  aws_secret_access_key node[:custom_secret_key]
end
Substitute /etc/apache2/vhost.map with the destination on your nodes, the bucket name and the remote
path as required. You can also use other attributes belonging to the Chef
file resource.
Updating stack and executing recipe
Once the code above has been committed and pushed back to your repository you’re finally ready to execute the recipe.
Go to your stack and click ‘Run Command’, select ‘Update Custom Cookbooks’:

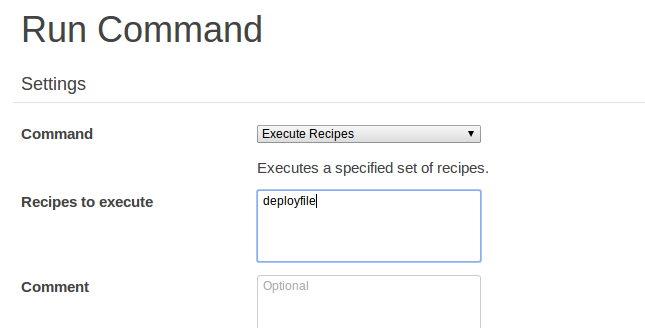
Once OpsWorks has finished updating your custom cookbooks go back to ‘Run Command’ and select ‘Execute Recipes’. Enter the name of your recipe into the ‘Recipes to execute’ field:

Alternatively you can add your recipe to a layer life-cycle event (such as setup) and execute that life-cycle event instead
Once that recipe has finished executing the file downloaded from S3 should now be present on your system!