AWS recently announced a new compute product called Lambda allowing users to run Node.js functions on full managed infrastructure while paying only for the actual compute time used.
NPM is the primary package manager for Node.js, and while Lambda does not provide explicit NPM support it is possible to bundle NPM packages with your function to leverage 3rd party modules.
Grunt is a task runner for JavaScript, allowing easy automation of project tasks such as building and packaging. Recently I released a Grunt plugin to assist in testing Lambda functions and packaging functions including NPM dependencies.
This blog post provides an example of how to use NPM, Grunt and the grunt-aws-lambda plugin to create a Lambda function which will scrape a web page and save a list of links within that page to S3 using the cheerio NPM package.
Before starting
It is assumed that you have Node.js (and NPM) installed on your system. Also, you should have grunt-cli installed
globally.
This guide also assumes you have AWS credentials configured on your system. These will be used to both test the function and upload it to Lambda. The easiest way to install the AWS CLI and run aws configure. Afterwards make sure ~/.aws/credentials is populated.
For more information on the required AWS IAM permissions read here, you will also need whatever permissions are required to invoke your function (eg. access to S3 buckets).
Creating your project
First, create a directory for your project and run npm init. After following the prompts you should end up with a
package.json, open this file and edit values as necessary. Also add grunt and grunt-aws-lambda to the devDependencies.
Don’t forget to update the version numbers if new releases are made in the future.
Your package.json should looks something like the following.
1 2 3 4 5 6 7 8 9 10 11 12 | |
Next, create a Gruntfile.js with the following:
1 2 3 4 5 6 7 8 9 10 11 12 13 14 15 16 17 18 19 20 | |
Then create an index.js, .npmignore and event.json with the following:
1 2 3 4 | |
1 2 3 4 | |
1 2 3 | |
Now run npm install
Then run grunt lambda_invoke, you should receive the following output:
1 2 3 4 5 6 7 8 9 | |
Congratulations, you’ve created a Lambda function and executed it locally!
Using NPM packages with AWS Lambda
For most nontrivial functions you’re going to want to leverage 3rd party libraries. The grunt plugin makes using NPM packages with Lambda easy.
In this example we’re going to use the following NPM packages:
- request - Make a HTTP request to download the target page
- cheerio - Query the DOM of the page we download
- moment - Format the current time
- mustache - Generate our HTML page using a template file
- aws-sdk - Access the AWS API to upload the page to S3
As the aws-sdk is already available in the Lambda environment we’re only going to include it in the devDependencies, the rest belong in the regular dependencies.
Update your package.json file with the following:
1 2 3 4 5 6 7 8 9 10 11 12 13 14 15 16 17 18 19 | |
Note that you must include any packages which are to be included in the Lambda package within the bundledDependencies list.
Now run npm install again to install these new packages.
Developing a Lambda function using NPM packages
Now we can actually develop the Lambda function in index.js, below is an example of a Lambda function to download the page provided in the webpage attribute of the event, extract all the links, convert them to absolute URLs, then generate a list of these links from a mustache template and upload it to S3.
Update your index.js with the following, don’t forget to replace mybucket with your actual destination bucket:
1 2 3 4 5 6 7 8 9 10 11 12 13 14 15 16 17 18 19 20 21 22 23 24 25 26 27 28 29 30 31 32 33 34 35 36 37 38 39 40 41 42 43 44 45 46 47 48 49 50 51 52 53 54 55 56 57 58 59 60 61 62 63 64 65 66 67 | |
Also create template.html which will be used to generate the page:
1 2 3 4 5 6 7 8 9 10 11 12 13 14 15 16 17 18 | |
If we run grunt lambda_invoke again the task should output:
1 2 3 4 5 6 7 8 | |
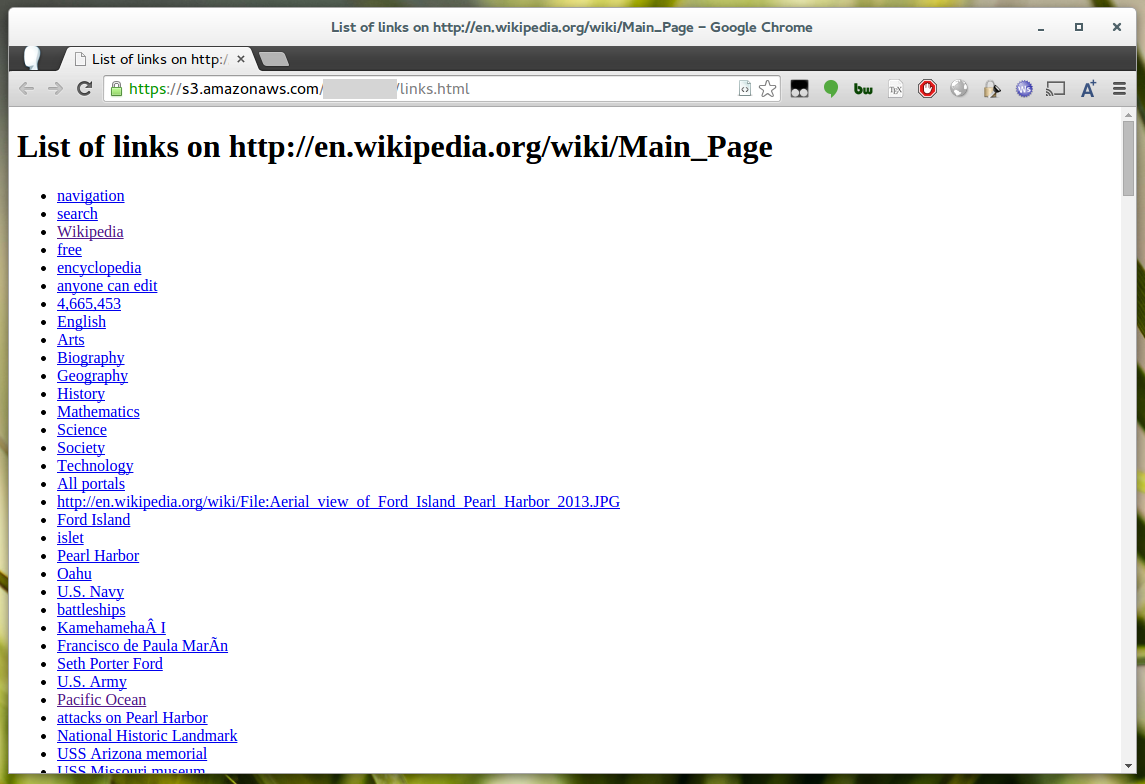
Then, if we look in our target bucket there should be a file called links.html, if you view it in your browser you should see something like:

Deploying to Lambda
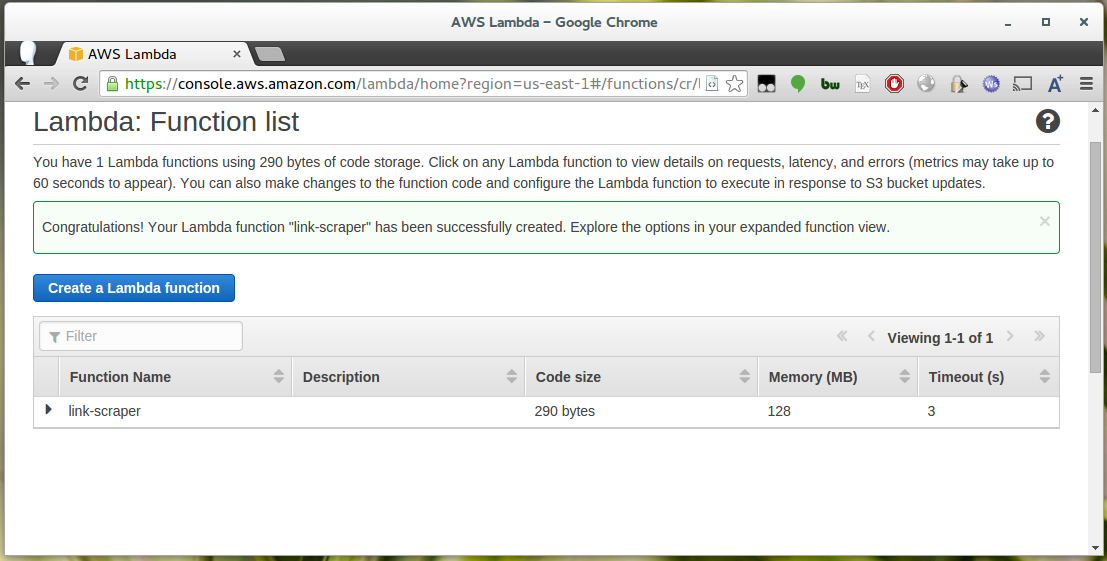
Before running the deploy task in grunt, go to the Lambda section of the AWS console and create a function which matches
the name in the lambda_deploy section of your Gruntfile. In the example above the function ARN is arn:aws:lambda:us-east-1:123456781234:function:my-function.
When creating the function select the “Hello World” template, as the code will be overwritten when we deploy a zip.

If you’ve added a deploy task to your Gruntfile as above you can now run grunt deploy, otherwise run both the lambda_package and lambda_deploy tasks with
grunt lambda_package lambda_deploy.
After running that you should see something like:
1 2 3 4 5 6 7 8 9 | |
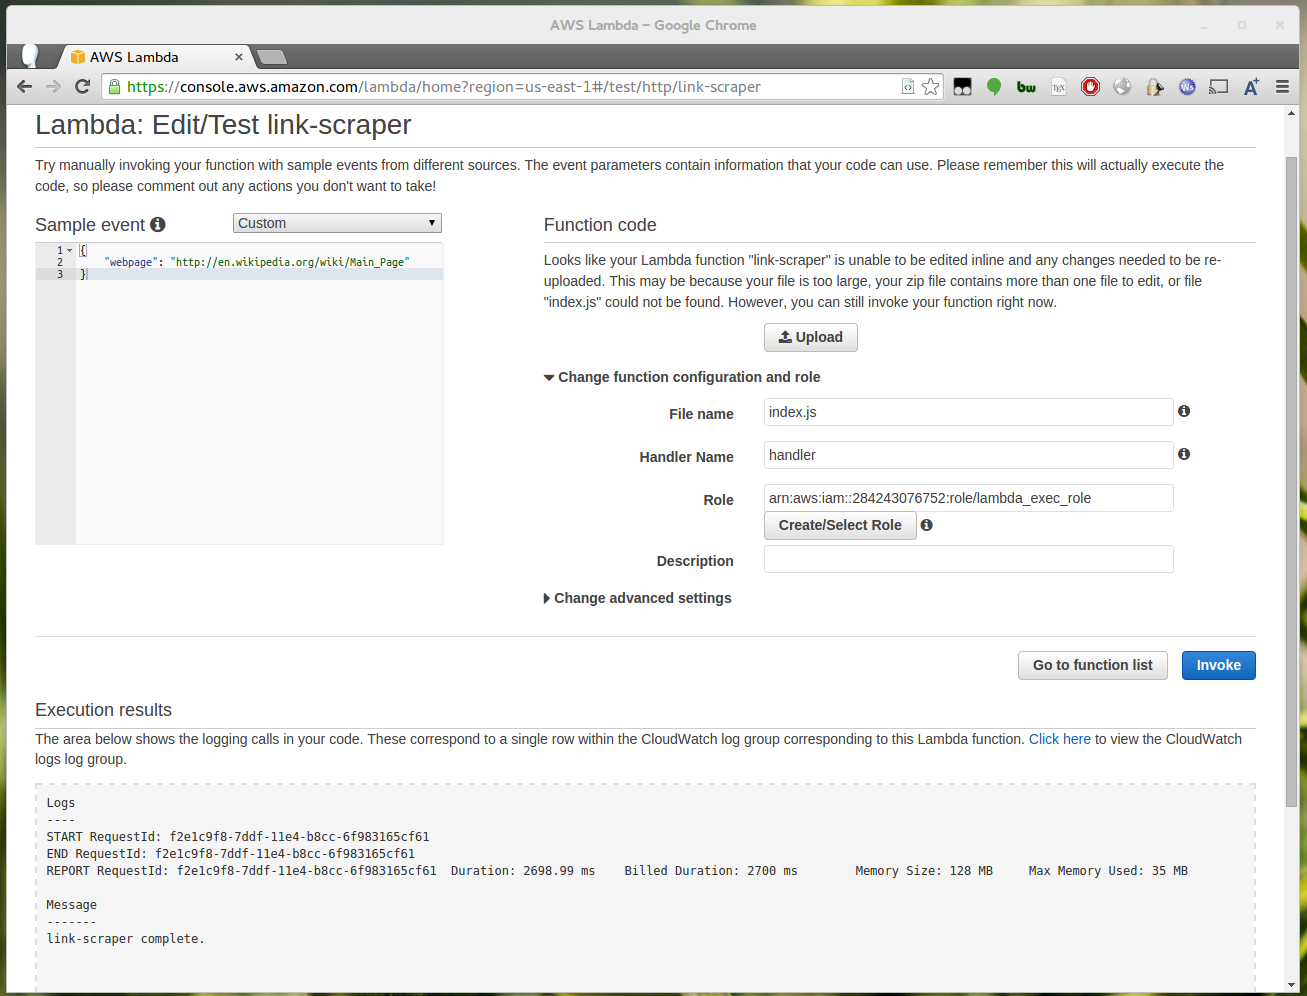
Now if you go to the AWS console you should be able to successfully invoke the uploaded task:

After running you should see the date at the bottom of the generated links.html has been updated.
If for whatever reason you need to access the zip package which was uploaded you can find it under the dist directory of your project.
Congratulations, you’ve now successfully deployed a Lambda function using NPM packages and Grunt! In future you can invoke this function manually, via another application using the SDK, or you could modify it to respond to one of the supported Lambda events such as an S3 Put event.